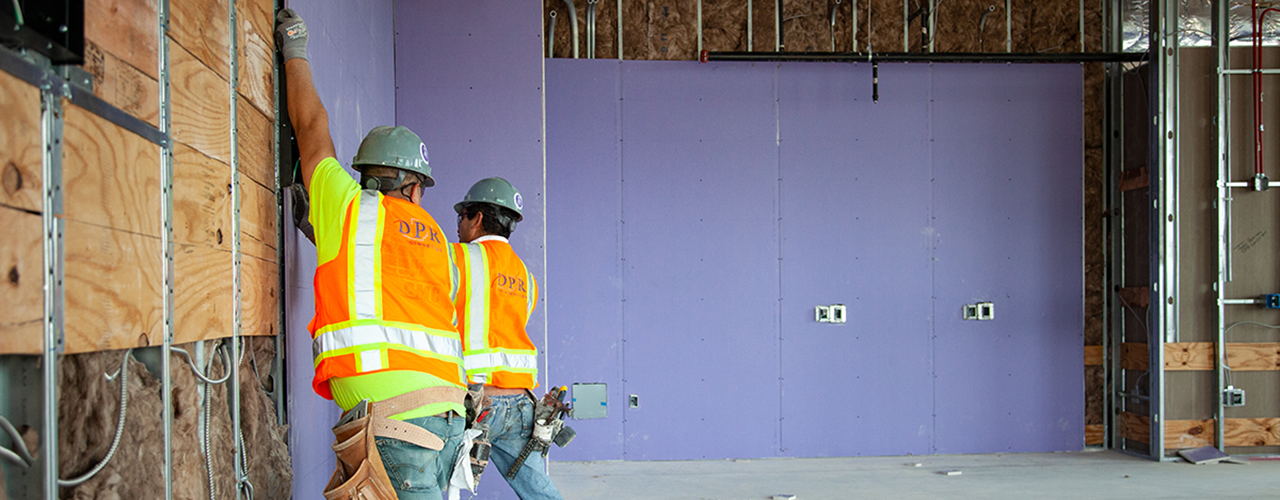
When it comes to gypsum assemblies, achieving long-lasting, high-quality results requires careful attention to every detail—from storage and material selection to installation and finishing. Gypsum assemblies play a critical role in construction projects, so any oversight can lead to costly rework or even structural issues. Here, we explore common pitfalls and share best practices to ensure your projects stand the test of time.
Avoid Common Gypsum Assembly Mistakes
Gypsum assemblies often suffer from several recurring issues that can compromise their durability and performance. Here are some challenges and ways to avoid them:
Material Handling and Storage
- Problem: Improper storage, such as placing sheathing directly on the ground or without adequate cover, can lead to material degradation.
- Solution: Store materials off the ground on dunnage and cover them with tarps to protect against moisture and weather damage.
Sheathing Condition
- Problem: Using wet, weathered, or soiled sheathing can weaken the assembly.
- Solution: Inspect all materials before installation and replace any damaged or compromised sheathing.
Installation Errors
- Problem: Issues like irregular corners, excessive joint gaps, or sheathing installed in contact with the deck are common.
- Solution: Ensure all corners are square and supported. Maintain a 1/4” to 1/2” gap between the sheathing and the deck to prevent water wicking. Keep joints tight and staggered for optimal performance.
Fastener Issues
- Problem: Using non-exterior-grade screws, incorrect spacing, or over/under-driven fasteners can lead to structural vulnerabilities.
- Solution: Use exterior-grade fasteners, such as those resistant to corrosion. Follow proper spacing guidelines (e.g., 8” on-center for exterior applications) and ensure screws are installed flush with the surface.
Best Practices for Gypsum Assemblies
To mitigate risks and ensure a successful installation, follow these proven strategies:
Proper Storage and Handling
- Use dunnage to keep materials off the ground and tarps to shield them from weather.
- Clean all sheathing before installation to remove contaminants that could affect adhesion or structural integrity.
Precise Installation Techniques
- Install sheathing flush with all openings and maintain uniformity.
- Use 90° corners for stability and avoid excessively large joints to ensure proper air/vapor barrier (AVB) adhesion.
Fastener Application
- Choose fasteners that are compatible with exterior conditions and avoid zinc or black phosphate screws.
- Space fasteners appropriately, accounting for wind load or shear requirements.
Structural Movement Accommodations
- Plan for framing and sheathing movement to prevent cracking or joint failure. Ensure screws do not penetrate substrates in ways that negate structural movement.
Compatibility Checks
- Use the correct type of sheathing for specific applications, such as roofing or parapets. Always verify compatibility with adjacent systems.
Why Quality Matters
Poorly executed gypsum assemblies can lead to long-term issues, such as moisture infiltration, structural instability, and increased maintenance costs. By prioritizing proper storage, installation, and fastener use, you can prevent these problems and deliver a superior product.
Key Takeaway
Quality in gypsum assemblies starts with a commitment to best practices at every stage of the process. By addressing common issues and adhering to proven techniques, you ensure the durability, functionality, and safety of your construction projects. For more detailed guidance, refer to industry standards such as GA-253-2018.
Stay proactive, and your gypsum assemblies will stand the test of time!


